 how-to
Securing Family Heirlooms and Historical Documents: A 7-Step Guide
Table of Contents
- Step 1: Assess and Inventory What You're Securing
- Step 2: How to Store Historical Documents Safely
- Step 3: Safe Handling and Cleaning Practices
- Step 4: Digitizing Family Documents for Backup
- Step 5: Protecting Important Family Documents from Disaster
- Step 6: Document Ownership, Provenance, and Family Stories
- Step 7: Create a Maintenance Schedule and Share Your Plan
- Frequently Asked Questions
Last Updated: October 15, 2026
Step 1: Assess and Inventory What You're Securing
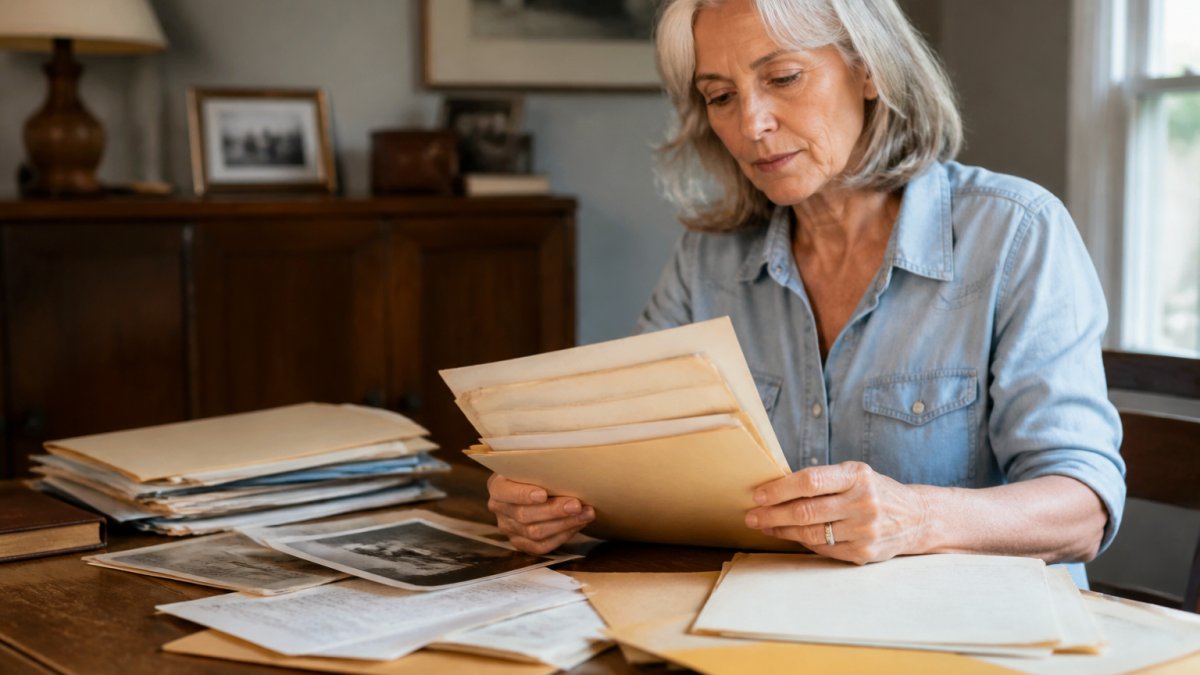
Start by listing everything you want to protect. Walk through your home and identify family heirlooms, historical documents, photographs, and papers that matter.
Write down each item, what it is, roughly how old it is, and why it matters. A notebook or spreadsheet works fine.
You can't protect what you don't know you have. Many people discover forgotten letters, photos, deeds, and military records years later, buried in drawers or closets.
What to look for:
- Family photographs and negatives
- Birth, marriage, and death certificates
- Old family bibles with names written inside
At My Living Legacy Course, we emphasize that securing family heirlooms and historical documents begins with knowing exactly what needs protection.
Step 2: How to Store Historical Documents Safely
Proper storage has two parts: the materials you use and the location you choose.
Choose the Right Storage Materials
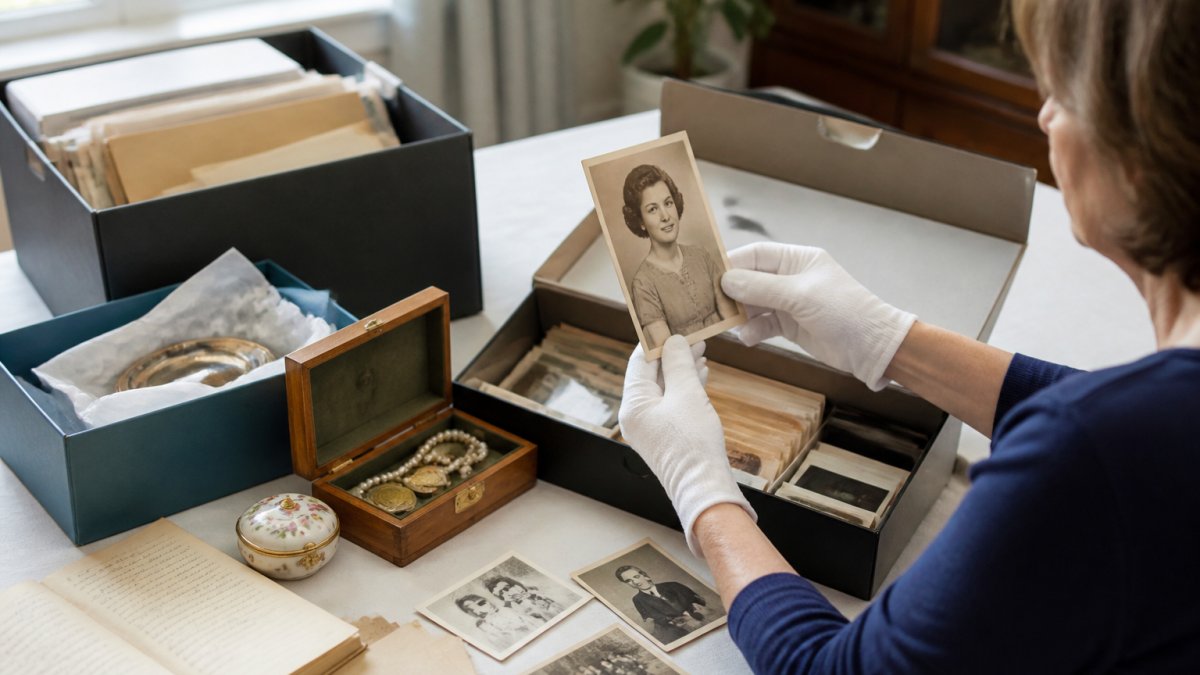
Use acid-free folders and boxes. Regular cardboard and paper contain acid that eats away at documents and photographs over decades; acid-free materials don't. Look for boxes and folders labeled "archival" or "acid-free", they cost slightly more but last indefinitely.
For photographs, use acid-free sleeves, regular plastic bags trap moisture. Store fragile items like old letters separately, and never stack heavy objects on delicate papers.
Storage material checklist:
- Acid-free folders and boxes
- Acid-free photograph sleeves
- Archival storage materials
Select an Ideal Storage Location
Avoid attics, basements, and garages. These spaces swing between heat, cold, and dampness year-round, a cycle that destroys documents and photographs.
Choose a cool, dry room, a bedroom closet, interior hallway closet, or spare room, where temperature and humidity stay relatively constant.
Location requirements:
- Cool and dry environment
- Stable temperature (50-70°F ideal)
- Low humidity (30-40% ideal)
Step 3: Safe Handling and Cleaning Practices
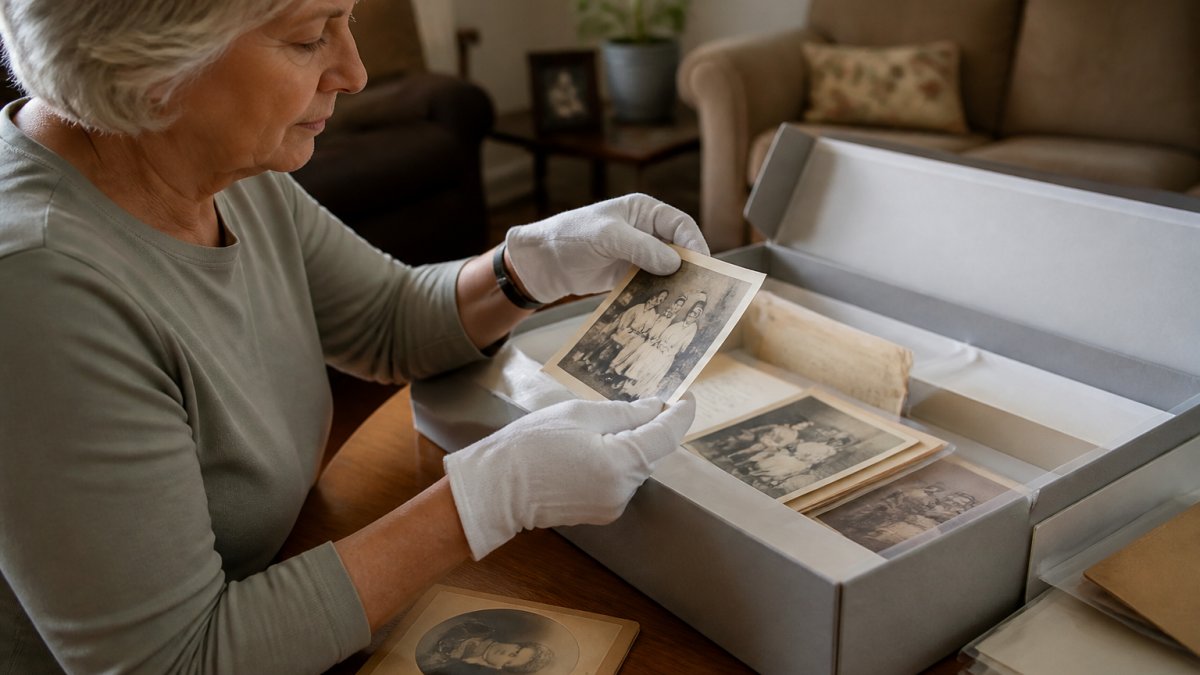
Oil from your skin damages paper over time. Before handling family heirlooms or historical documents, wash and dry your hands completely.
Cradle documents in both hands rather than holding them by one corner.
If a document is dirty, dust it gently with a soft brush; for stubborn dirt, consult a professional conservator. Homemade cleaning often causes more harm than good.
Safe handling rules:
- Wash hands before touching documents
- Wear cotton or latex gloves for fragile items
- Support documents fully in both hands
Step 4: Digitizing Family Documents for Backup
Digital copies protect your family heirlooms and historical documents against fire, flood, or theft, but only if you build them correctly. A folder of unnamed JPEGs on a single hard drive is not a preservation strategy.
Scan at the Right Settings
Scan text at 300 dpi minimum; use 600 dpi for small handwriting, faded ink, or fine detail like seals and stamps (Guidelines for Preservation Digitization - Guidelines for Electronic Preservation of...).
Save documents as PDF/A when supported, it embeds fonts and color profiles so the file renders the same decades from now. For photographs, save a TIFF master and a high-quality JPEG working copy.
Name Files So They Survive You
Use a consistent pattern: YYYY-MM-DD_LastName_FirstName_ItemType, e.g. 1952-06-14_Harrison_Walter_MilitaryDischarge. Dates sort chronologically; names and item types make files findable. Avoid spaces, special characters, and vague names like scan001.
Add Metadata, Not Just Files
A scan without context is just an image. Embed metadata in the file (title, date, description, keywords) and keep an index spreadsheet with these fields:
- File name
- Item description
- Date or estimated date
Follow the 3-2-1 Backup Rule
The 3-2-1 standard: keep three copies of every file, on two media types, with one offsite.
- Copy 1: your computer or primary drive
- Copy 2: an external hard drive in a different room (or at a relative's home)
- Copy 3: cloud storage, Google Drive, Dropbox, iCloud, or a backup service
Cloud storage protects against local disasters but is not a substitute for a local copy; outages, lockouts, and shutdowns happen. Keep both.
Plan for Migration, Not Just Backup
Digital files do not preserve themselves. Build a migration habit:
- Every year: open a random sample of files and confirm they still open and look correct.
- Every 3-5 years: copy your entire archive to fresh media. Hard drives have a typical service life of about 3-5 years; do not trust one indefinitely.
- When a format becomes hard to open: convert a copy to a current standard (for example, an old WordPerfect document to PDF/A) but keep the original file too.
Encrypt and Control Access
Scans of birth certificates, deeds, and financial records are identity-theft targets. Enable two-factor authentication on your cloud provider, encrypt external drives, and share files with specific relatives rather than open links. Redact Social Security numbers, account numbers, or maiden names before sharing.
Digitization checklist:
- Scan text at 300 dpi; handwriting and photos at 600 dpi
- Save documents as PDF/A; photos as TIFF master + JPEG working copy
- Name files
YYYY-MM-DD_LastName_FirstName_ItemType
Step 5: Protecting Important Family Documents from Disaster
Fire, flood, and theft are real threats, and most families never rank their belongings before an emergency forces the decision. This section covers three phases: prioritize, evacuate, recover.
Phase 1: Prioritize Before Anything Happens
You will not have time to sort through boxes during a fire or flood. Decide now which items fall into each tier:
- Tier 1, Irreplaceable originals: birth, marriage, and death certificates; military discharge papers (DD Form 214); deeds and titles; passports; adoption and naturalization records; original photographs with no negative or scan.
- Tier 2, Hard to replace: family bibles, handwritten letters, journals, medals, and one-of-a-kind heirlooms.
- Tier 3, Replaceable or already digitized: printed copies, mass-produced items, anything with a verified high-resolution scan.
Write the Tier 1 list on a single index card and keep it with your disaster kit. In an evacuation, you grab Tier 1 first. Everything else is a bonus.
Phase 2: Build the Kit and the Plan
The go-kit. Use a waterproof, fire-rated document box or bag, a fire-rated safe of at least 30 minutes at 1,550°F is the industry benchmark for paper survival. Inside, keep:
- Copies (not originals) of Tier 1 documents
- A USB drive with your digitized archive
- The Tier 1 index card
The offsite original. For irreplaceable originals, deeds, titles, and legal papers, a bank safe deposit box is standard. Trade-off: it isn't accessible nights and weekends, so keep copies at home for anything you might need during an emergency.
The evacuation plan. Walk through the house and identify the single location where your go-kit lives. Tell every adult in the household. Practice a 60-second grab: go-kit, Tier 1 originals if stored at home, pets, out.
Phase 3: Recover Without Making It Worse
After water damage, spreading wet papers out to dry in the sun causes more harm than the water. Follow these rules:
- Do not separate stuck-together pages. Freeze the stack instead. A home freezer or a commercial freeze-drying service can stabilize wet paper for weeks while you arrange professional treatment.
- Do not use heat, hair dryers, or direct sunlight to dry documents or photographs. Heat accelerates mold and warps emulsion.
- Call a conservator early. The American Institute for Conservation (AIC) maintains a free referral service (Find a Conservator) that connects you with a trained paper or photograph conservator in your region (Find a Professional Member).
Insurance and Documentation
Review your homeowner's or renter's policy before a loss. Standard policies often cap coverage for cash, jewelry, and collectibles, and may require a rider for high-value heirlooms. Keep:
- A photographic inventory of every Tier 1 and Tier 2 item
- Appraisals for anything worth more than your policy's per-item cap
- Receipts or provenance documents where available
Update the inventory after any acquisition or appraisal, an insurance claim without pre-loss documentation is an uphill fight.
Disaster protection checklist:
- Rank items into Tier 1, 2, and 3; write Tier 1 on an index card
- Build a waterproof, fire-rated go-kit with copies and a USB drive
- Store irreplaceable originals in a bank safe deposit box
Step 6: Document Ownership, Provenance, and Family Stories
Every item has a story, and recording it preserves meaning for future generations. Write down who owned each heirloom, when the family got it, why it matters, and how it was passed down.
Photograph items alongside handwritten notes, or record yourself telling the story, audio and video capture emotion that writing misses. Create a family tree connecting items to people: "This watch belonged to Great-Grandfather James, born 1898, who worked as a railroad engineer." Share these stories now; ask older relatives about items while they can still explain them.
At My Living Legacy Course, we recognize that securing family heirlooms and historical documents includes preserving the stories behind them. The objects matter less without the narratives that give them meaning.
Story documentation methods:
- Written descriptions of history
- Audio recordings of family members
- Video recordings of items and stories
Step 7: Create a Maintenance Schedule and Share Your Plan
Preservation is ongoing work. Check your storage location every three months for temperature changes, moisture, pests, or light damage.
Share your preservation plan with your family: where items are stored, why the location matters, and how to access your inventory and digital backups.
| Maintenance Task | Frequency | What to Check |
|---|---|---|
| Storage location inspection | Every 3 months | Temperature, humidity, moisture, pests, light |
| Digital backup verification | Twice yearly | File accessibility, readability, cloud sync status |
| Inventory update | Annually | New items added, items removed, descriptions current |
| Family communication | Annually | Share location, backup access, preservation methods |
| Storage materials review | Annually | Condition of acid-free boxes, sleeves, folders |
Preserving family heirlooms and historical documents protects more than objects, it preserves your family's identity across generations.
My Living Legacy Course helps you go deeper.
Frequently Asked Questions
What's the best way to store documents to preserve them long-term?
Store documents in a cool, dry environment away from direct sunlight, heat, and moisture. Use acid-free folders and boxes to prevent chemical deterioration. Keep the temperature between 60-70°F and humidity between 30-40%. Avoid attics, basements, and garages where temperature and humidity fluctuate. A climate-controlled closet or interior room works well. Handle documents with clean hands and never use rubber bands or metal clips. Digitize important originals as a backup.
How do you document the history and ownership of a family heirloom?
Create a detailed inventory for each heirloom that includes its description, estimated age, material, condition, provenance (ownership history), and any family stories attached to it. Photograph each item from multiple angles. Write down who previously owned it, how your family acquired it, and what it means to your family. Store this documentation with the physical item or in a secure digital file. Include any certificates of authenticity or appraisals. This record becomes invaluable for insurance, inheritance decisions, and passing down family history to future generations.
What's the best method for digitizing family documents and photographs?
Use a scanner with at least 300 DPI resolution for documents and 600 DPI for photographs to capture fine details. Save files in PDF format for documents and JPEG or TIFF for photographs. Store digital copies in multiple locations: an external hard drive kept in a safe place, cloud storage with strong password protection, and ideally a second backup drive stored elsewhere. Label files clearly with dates and descriptions. Create a master inventory spreadsheet listing all digitized items. Test your backups annually to ensure files remain accessible.
How can you protect family keepsakes from fire, water, and loss?
Create a disaster plan that includes storing copies of critical documents in a fireproof safe or safety deposit box at your bank. Digitize originals and back them up off-site. Photograph valuable heirlooms for insurance purposes. Keep an updated inventory with descriptions and estimated values. Consider flood-prone areas and avoid storing items in basements or ground-level spaces. Label items with your name and contact information. Share your preservation plan with family members so they know where important items are stored and how to care for them if something happens to you.